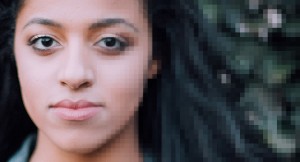
You got your hair did, you put on your prettiest outfit, and you smiled real nice for the camera. Make sure that your beautiful head shots are properly optimized so that they load properly on your site. Here’s how:
- Look at the file size of the image you want to optimize (select image file and then right click > Get Info, or select ⌘ + I). If the file is larger than 500 KB (for instance, 2.3 MB is huge), it needs to be optimized. Also, if either the width or height is larger than 1500 pixels, it’s way too big and needs to be optimized.
- Create a copy of the image file! You do NOT want to edit your original images. Give the copy a unique name so you don’t destroy the original file by accident.
- Open the image in an image editor (both Preview on Mac or Picture Manager and PC work fine). From the View menu, choose ‘Actual Size’ to see how large the picture really is.
- From the Tools menu, choose Adjust Size.
- Change the longer dimension (width or height) of your image is no larger than 1500 pixels.
- Save your new, smaller image.
- Check the file size again. We’re aiming for less than 300 KB for large images and less than 100 KB for small images. Smaller is better.
- Keep trying to lower the size or resolution until your file is as small as possible while still looking crisp. Even pros (like me!) go through some trial and error.
- One very important thing to remember is that you CANNOT make a small image bigger. I mean, you can, but it will pixilate and look awful. So don’t do it!
Here are a few free and almost-free image editing software you can also check out:
- Resize.it: Free
- Image Bucket app (Mac): $4.99
- Picresize: Free